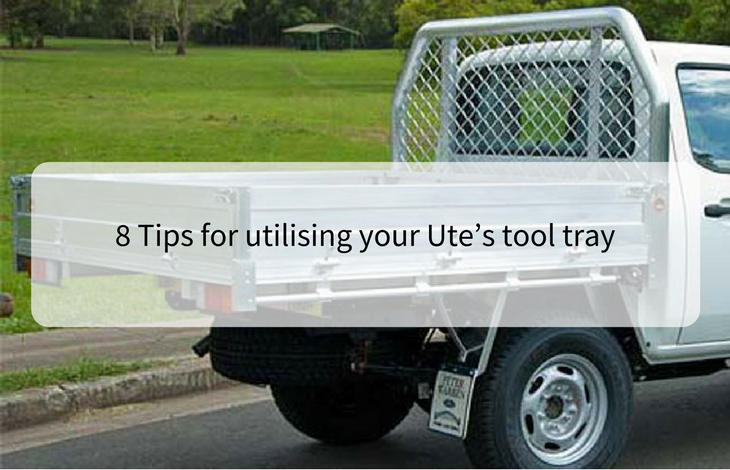
A ute has to be tough because it faces rough conditions every day. It needs good traction, strong suspension, and rugged accessories. When you’re choosing a tool box, make sure you get one that can stand being rattled around. It should be made of thick aluminium. Other desirable tool box features include protective rubber seals, smooth welded edges, and lockable lids.
You can get the kind of tool tray or box that specifically matches your ute. Available designs include low profile, underbody, gullwing, or high sided tool boxes to suit the size and shape of your ute. You can also get a tool box that has drawers for additional storage.
To get the most out of your tool tray and to keep your tools safe as your ute trundles along, there are a few DIY tips that you can follow, and all of them involve some form of foam. Get a few sheets of tool tray foam from any hardware store, along with a sharp retractable blade. Use the foam to organise your tray in a way that keeps your tools protected from dints and makes them easy to find when you need them.
Once you have the right foam, look at the size and shape of your tool tray, then cut a foam section that will fit snugly inside the tray with no wiggle room. This ensures the tools don’t get tossed around while you drive. If your tool tray has drawers or compartments, each one should have its own foam sheet.
Now take a closer look at your tools in comparison to your foam sheet. How would you like to arrange them? You can stack them by size, type, or give priority to the tools you use most often. For small tool trays, arrange the tools with their handles facing opposite directions to create more space. Make a little sketch of your intended layout. You can use a whiteboard or blackboard, erasing until your get an alignment you’re happy with.
If you’re satisfied, trace your tools one by one, then transfer the tracings to your foam sheet and cut out your tool shapes. If you don’t plan to cut all the way through the foam, test the depth of the blade against the thickness of the foam before you start cutting. Whenever possible, use two layers of foam in different colours.
Your cuts should only go to the first layer. This is called shadowing. It gives your tools extra cushioning, but it also shows you at a glance which one of your tools is missing. Once you have stencilled all your tools and made sure they fit snugly, you need to make sure your tools are easy to pick when you need them. You can punch a small hole for each tool so that your fingers can slip into it. Alternatively, you can scoop out a horizontal row across the tools slots.
Your tool tray can also be used to store power tools. Foam is especially helpful in keeping electronic components from being bumped around and damaged. When you’re cutting out power tool stencils, neatly roll up the tool cord, secure it, then cut a slot in the foam that will snugly hold the power cord. These tools are best stored in deep drawers. Be sure to secure them in thicker sheets of foam.
If you have a large set of spanners or screwdrivers, you can save space by storing them sideways, resting on their narrow edges. Instead of cutting stencils based on their flat sides, make a thick piece of vertical foam and cut slits where the tools can be snugly anchored using their thinner edges.
If you’d like an easier way to create stencils for your metal tools, heat them up for half an hour. Carefully take the hot tools and place them on the foam, where they will melt into place. Make sure you already know where you want the tools to sit since you can’t undo the melting. Don’t do this with tools that have rubber or plastic handles, and try not to burn yourself in the process.
Getting the right tool tray will help keep your tools safe, dry, and secure. Using the right foam organiser will protect them from being banged up and give you faster access when you need it. The organisation will also make it easier to find the exact tool that you want and to keep track of any tools that may have gone missing.
Read Also:
